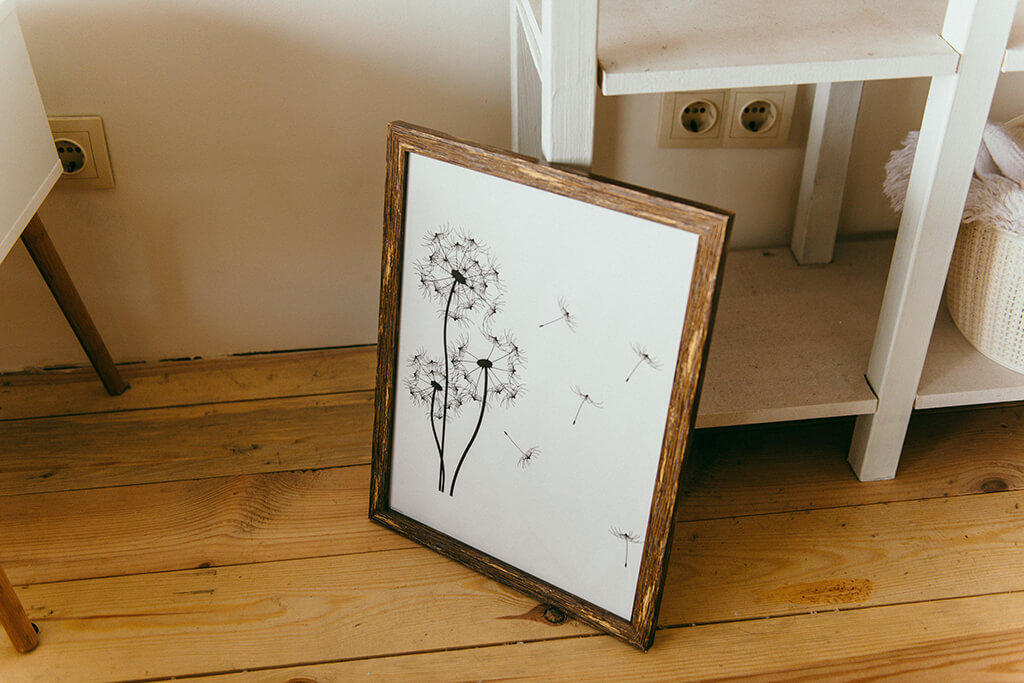
Rustic wooden picture frames add a charming, farmhouse-style touch to any home decor. They highlight natural wood grain, knots, and imperfections, making each frame unique. Whether you’re framing a cherished family photo, an art piece, or a mirror, making a rustic wooden frame is a rewarding and creative DIY project. This guide will walk you through the process of crafting your own rustic wooden picture frame, from selecting materials to finishing with a beautiful, aged look.
1. Gather Your Materials and Tools
Before you begin, ensure you have all the necessary materials and tools to create a durable and stylish rustic wooden picture frame.
Materials:
- Reclaimed wood or new wood distressed for a rustic look (pine, oak, or barn wood are good choices)
- Wood glue
- Finishing nails or screws
- Sandpaper (80- to 220-grit)
- Wood stain or paint (optional)
- Clear protective sealant (polyurethane or wax)
- Glass panel (optional)
- Backing board
- Hanging hardware (D-rings, sawtooth hangers, or wire)
- Wood filler (optional)
Tools:
- Tape measure
- Pencil
- Miter saw or hand saw
- Hammer or drill
- Clamps
- Paintbrushes or rags (for stain application)
- Screwdriver
- Carpenter’s square
- Chisel (optional for distressing)
2. Measure and Cut the Wood
Accurate measuring and cutting are essential to ensuring your frame fits perfectly around your picture or artwork.
Steps:
- Measure Your Picture or Artwork – Determine the dimensions of the image you’re framing. Add 1/4 to 1/2 inch to each side to account for the rabbet (the recessed area where the picture will sit).
- Mark Your Wood – Using a tape measure and pencil, mark the lengths of each frame side.
- Cut the Wood – Cut the wood at a 45-degree angle using a miter saw for a professional finish, or use straight cuts for a more rugged, rustic appearance.
- Create a Rabbet Groove (Optional) – If you want your picture to sit flush in the frame, use a router or chisel to carve out a groove along the inner edges of the frame.
- Sand the Wood – Lightly sand the cut edges to remove splinters while keeping the wood’s natural character intact.
3. Assemble the Frame
With the pieces cut, it’s time to assemble the frame securely.
Steps:
- Lay Out the Pieces – Arrange the frame pieces in their correct positions to ensure proper alignment.
- Apply Wood Glue – Apply a thin line of wood glue along the mitered edges or straight-cut ends.
- Clamp and Nail/Screw Together – Use clamps to hold the frame securely while nailing or screwing the corners together. If using nails, small finishing nails will help maintain a seamless look.
- Check for Square Corners – Use a carpenter’s square to ensure the frame is even on all sides.
- Fill Gaps (if needed) – Use wood filler to fill any small gaps at the joints and let it dry.
- Let It Dry – Allow the glue to set for at least 12–24 hours before proceeding to the next steps.
4. Distress and Finish the Frame
To give your frame an authentic rustic look, you can distress the wood and apply a stain or paint finish.
Distressing Techniques:
- Hammer or Chains – Lightly tap the wood with a hammer or a chain to create indentations.
- Sandpaper – Rub the edges with sandpaper to expose raw wood and create a worn look.
- Knife or Chisel – Make small cuts and scrapes to mimic natural aging.
Staining and Finishing:
- Choose a Stain or Paint – Opt for dark walnut, weathered gray, or whitewash for a rustic aesthetic.
- Apply the Finish – Use a brush or cloth to apply the stain in even strokes. If using paint, a dry brush technique helps achieve a distressed effect.
- Wipe Off Excess – Remove excess stain with a clean rag to highlight the natural wood grain.
- Seal the Frame – Protect the finish with a coat of polyurethane, wax, or matte sealer.
5. Attach the Backing and Hardware
Now that your frame is fully assembled and finished, it’s time to secure the picture and attach the hanging hardware.
Steps:
- Insert the Picture and Backing – Place your picture behind a glass panel (if using) and secure it with a sturdy backing board.
- Secure the Backing – Use small nails, tabs, or framing points to keep the backing in place.
- Attach Hanging Hardware – Depending on how you plan to display the frame, install D-rings, a sawtooth hanger, or a wire for wall mounting.
Conclusion
Creating a rustic wooden picture frame is an enjoyable DIY project that adds warmth and personality to your home decor. By following these steps—selecting the right wood, measuring accurately, assembling carefully, distressing for character, and finishing with a protective coat—you can craft a one-of-a-kind frame that complements any space. Whether you’re making frames for yourself or as gifts, this hands-on project allows for endless creativity and customization. Try experimenting with different stains, distressing methods, and wood types to achieve unique results every time.

